COMMISSION INFORMATION
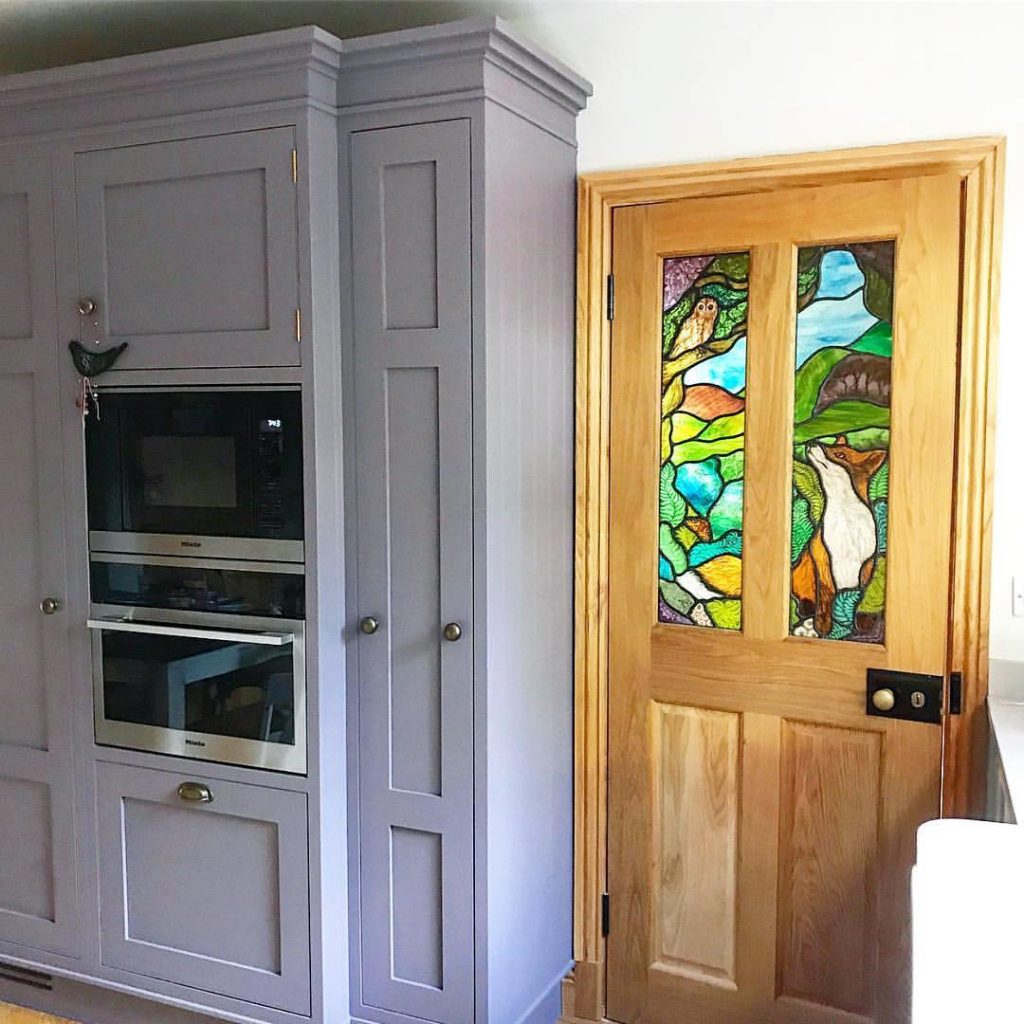
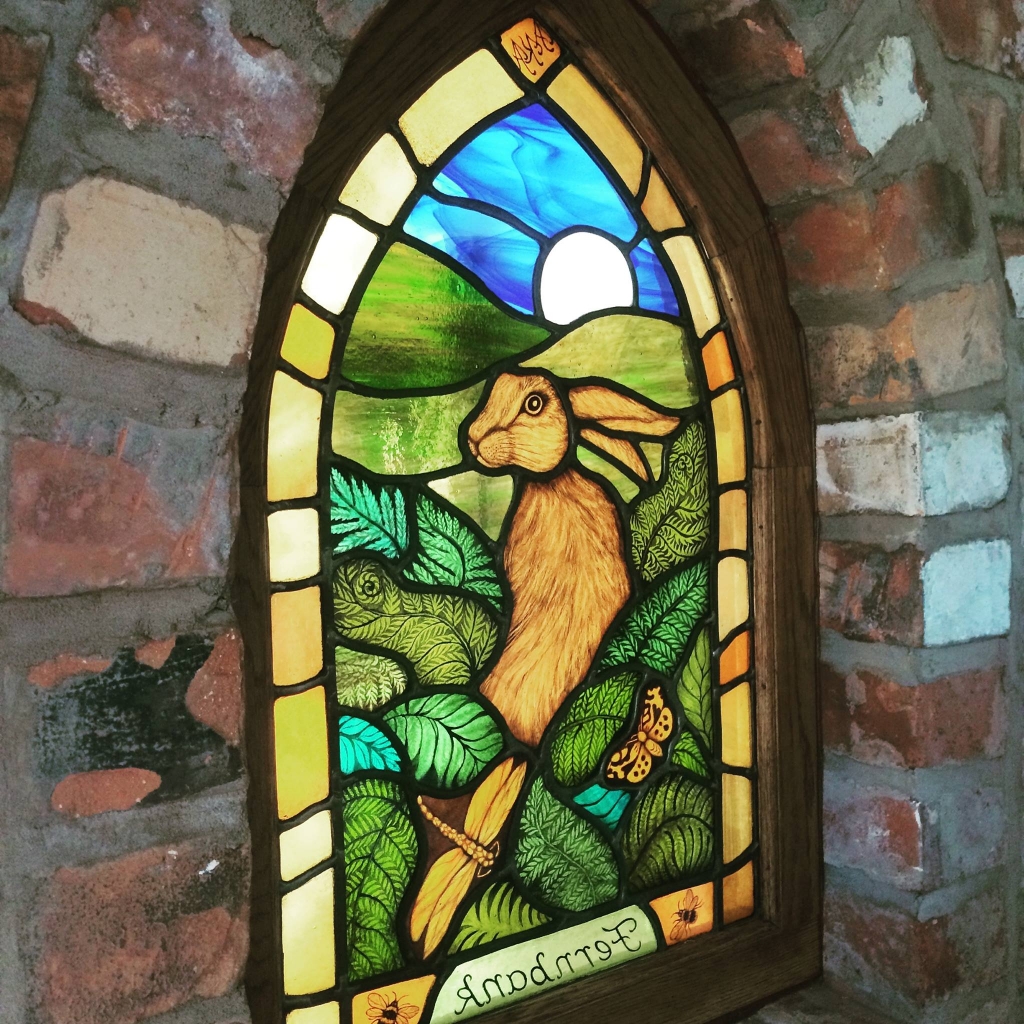
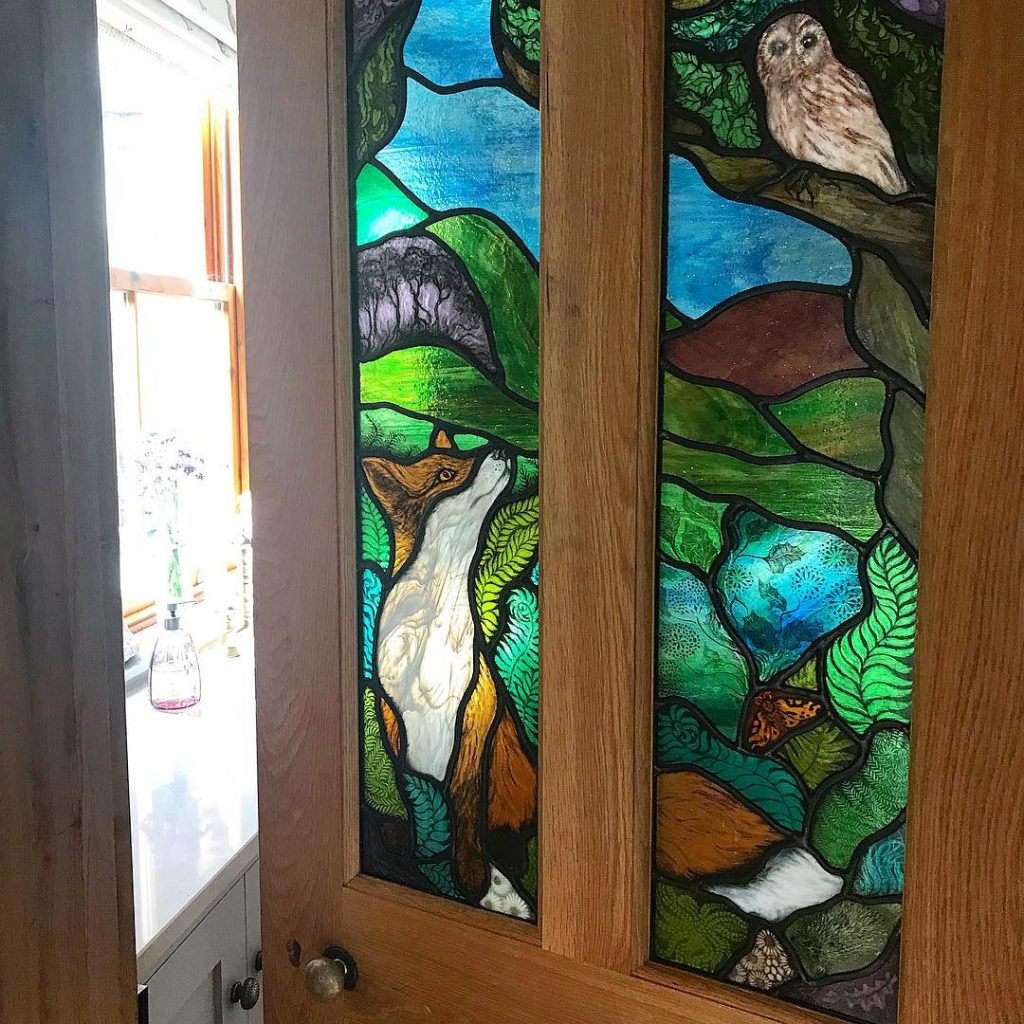
Commissioning a stained glass panel allows you to have a unique piece of art which is an expression of your ideas. It will be specially designed to suit the location you choose. I like to work closely with my clients, keeping them informed of their commissions progress via email and photo updates.
Distance is not a problem and updates can be an interesting part of the process for the customer, who gets to learn about all of the processes that go into the making of their commission.
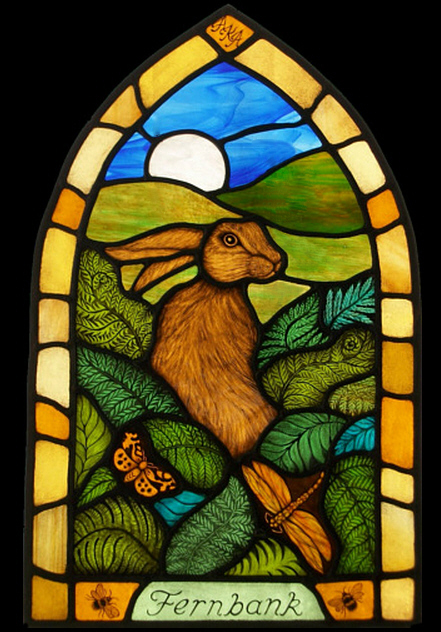
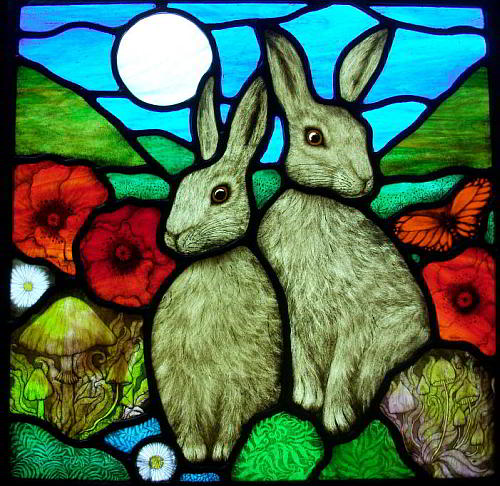
How the Process Evolves
1. The Design
The first step is the design process. Once I have a idea of what the client has in mind I create an initial sketch for them. This provides an idea of what might work within the space that they have, be it a door, window or other setting. I then refine my sketch into a full design with any changes required. Once this is approved I then draw in the cut lines. The cut lines indicate where each section of glass will need to be cut and placed, this is traditionally called a “Cartoon.”
2. Glass Selection and Cutting.
I then begin the process of selecting the glass for each section, keeping in mind the colour scheme and what will work well to create the overall mood of the scene. I use many different types of glass. There is a vast selection of fir-able high quality classes available, which are beautiful and durable. The colour in stained glass is mainly from the coloured sheet glass, and the painting is mainly black, or brown, and used to create detail and shading. There are exceptions where coloured enamels are used, but generally in traditional stained glass these are for small areas only.
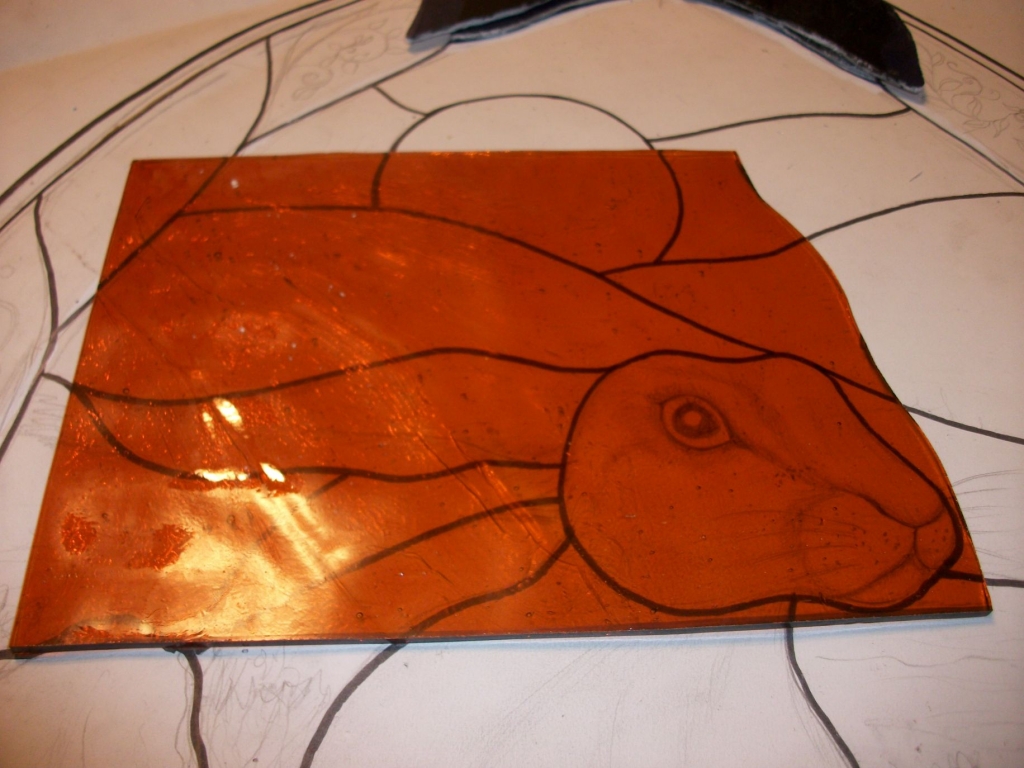
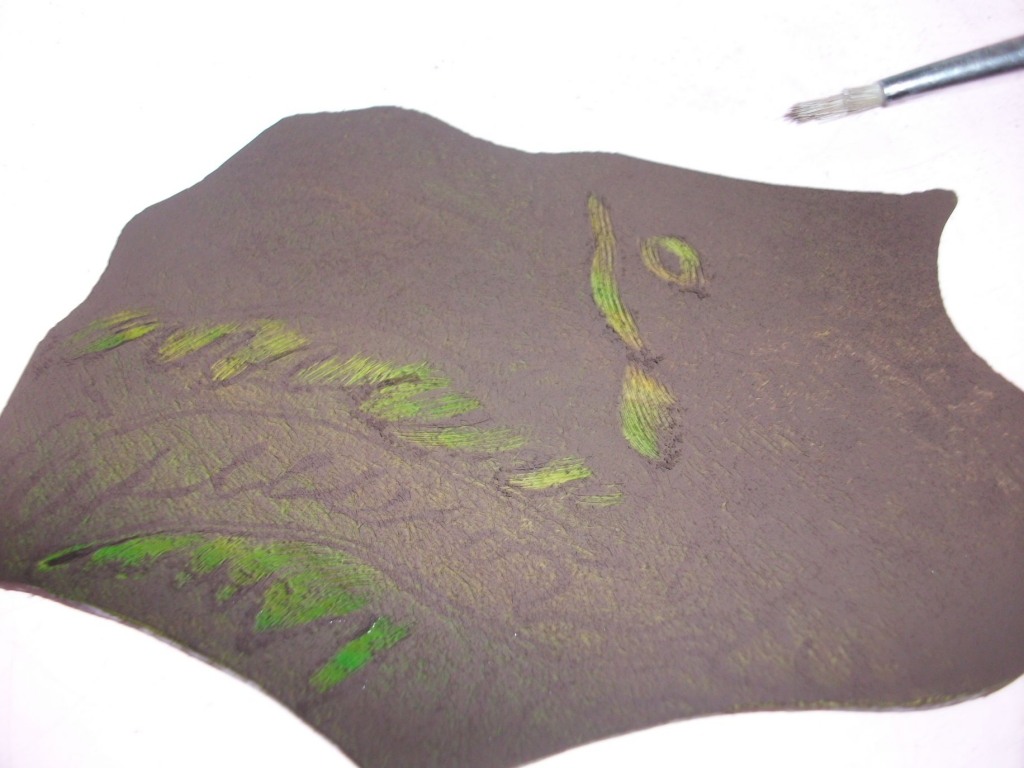
3. Painting and Shading.
Once all of the glass pieces have been cut to shape and filed, I then begin the painting process. I have various ways of going about this. Some times I matt the glass paint on the surface of the glass and work into it, and some times I carefully paint the outline of the details first. There is no other art form quite like stained glass, it requires many firings. After each application a firing is needed before adding the next. Artist come and go with ideas to cut down on the firings, but this is the way that creates the results I like, so is well worth it. Subtle shading is key to my work and style. This part of the process is usually the longest, some sections need to be gradually built up and fired as many as ten times or more. I fire the glass in my Kilncare kiln at 660.c each time, luckily I can fit many pieces in for each firing!
4. Construction and Lead Came.
I use lead cames which are mainly “H” sections with groves in to hold the glass in place. The construction with lead is also a lengthy process. My designs are always very curvy which makes the cutting and construction more challenging, but it’s an integral part of my style.
The soldering then takes place. I rub tallow onto each lead junction and then neatly solder it using a hot soldering iron. This process has to be carried out on both side of the panel. At this point the panel is quite heavy with the weight of the glass, lead and solder.

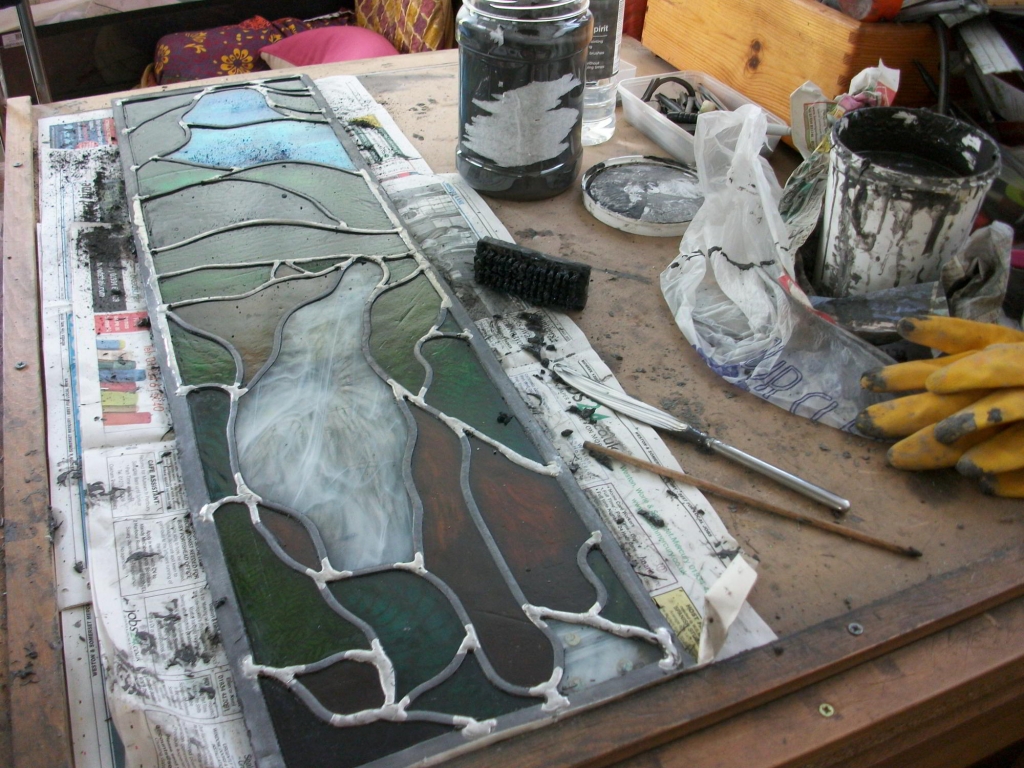
5. Cement.
Cementing is the messy part of the process. I mix up a black cement goo! which consists of, whiting (powered chalk), Linseed oil, and black pigment. I then carefully but firmly push the cement under the lead flanges. both the front and back of the panel needs to be cemented. The cement seals the lead and glass together, making it stronger and draft proof. It also cushions the glass from direct contact with the lead.
I then use more of the white chalk to clean up the cement from the glass and lead, which is another time consuming process! The final process is then the “Patina” application to black the lead, and the polish with Graphite grate polish. This completes the process and really sets of the beauty of the glass against the black shiny lead.
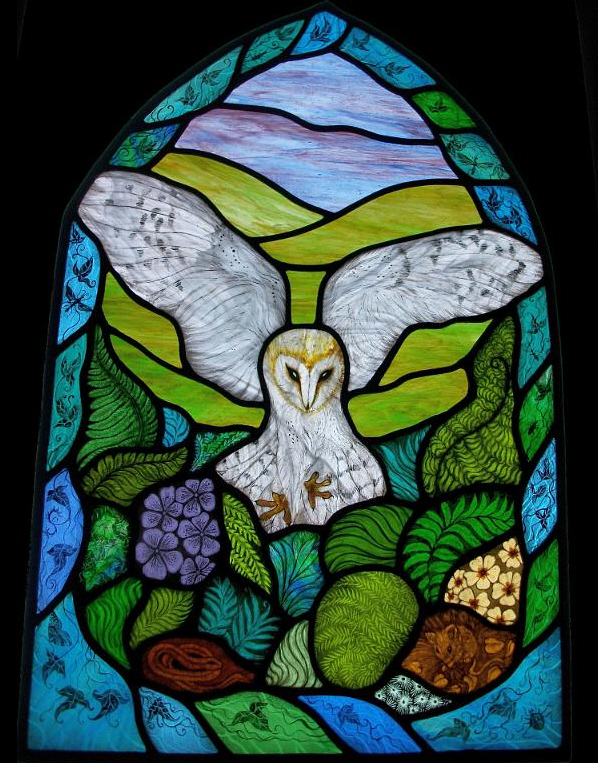
The panel is then left to completely dry out before I carefully pack it for shipping to my customer. Once dry I place it on my light-box for it’s final photo before it reaches it’s new home. I use DHL to ship panels to many parts of the world. The panels are fully insured for peace of mind.
PRICING
The cost of a panel is calculated on the basis of its size, the complexity of the design, the quality of glass used and the amount of painted and fired detail. It is difficult to give general estimates because each commission is unique. After discussing a customers requirements, an estimated fee is given and an estimated time span for the entire artwork to be created. After drafting a design for the panel I am able to give an exact quote for the work, which will be as near to my estimated quote as possible.
Commissions require a 50% payment in advance for materials.
INSTALLATION
Installation is by the clients own arrangement. It is possible to encase a stained glass panel within a double glazed unit for safety and security, or to have it secured on the inside of a double glazed unit; so that the full quality of the work can be appreciated from within the room.
