
I tend to think of stained glass or (art-glass) as a semi precious material – rather like amethysts or emeralds. A lot of hard work goes into the production of this material, and it is becoming more and more expensive due to increased environment protection standards and importation fees.
Getting your glass cutting technique right can save a lot of time and money.
If the glass cutting for that stained glass window that you are making is not going too smoothly; here are a few tips that can really make a big difference.
- If you are able, stand up to cut glass. The movement of your body and your shoulder will give you better control over the cutter. Don’t stand so close to the cutting table that you don’t have room to move. Stand with your legs slightly apart so that you have good balance and are able to move your body as you are cutting the glass.
- If possible rotate your pattern to tackle a cut, rather than contort your body awkwardly. Reaching and stretching to cut over your pattern will affect your accuracy.
- It is important to have at least two copies of your pattern. One to cut on & one to lay your cut section out on. This makes the process more organised and prevents the same piece being cut more than once. You can check your progress and see if all looks ok as you progress. I often use a pencil to tick off the sections on my cut-line pattern that I have cut.
- Avoid cutting on slippery paper such as tracing paper, it will make the process more difficult as everything slides about.
- You can push or pull your glass cutter – it doesn’t matter which way you do it. You may find some cuts easier to do one way and some the other. With practise you will find the way that is second nature to you.
- Find a way that is comfortable for you to hold your glass cutter. There are no rules for holding a cutter when you are cutting glass; there are only rules on how the cutter must set on the glass. The cutter wheel must be absolutely perpendicular to the glass, it cannot lean to the left or right, this includes going around curves. You must be able to see the cutter wheel and the line you are cutting along at all times.
- Always maintain the same pressure, right to the very edge of the glass. If you let up on the pressure before the end of the cut, the glass will be difficult to break. You want to hear a static or zipper sound from beginning to end. Pressing too hard will only gouge the glass and cause problems such as: the glass not breaking along the score line, damaging the cutter wheel, and giving you a sore hand and shoulder!
- Start cutting glass 1/16th inch from the edge, and continue cutting, slow and steady, until you roll over the other edge, trying not to jam the cutter into the table. You can avoid this by lessening the pressure just before the end of the score.
- Always break the score line from the edge that you finished cutting on. Avoid letting your score line go cold. It will be much harder to brake or may not break at all if left.
- If you use your trace line pattern or pattern templates (American style) and trace around them with a marking pen, always cut on the inside of the trace line. If you cut on the outside of the line, your cut piece of glass will grow in size and be too big for the pattern.
- Always use a working piece when cutting glass for your project. Don’t try to cut from the full sheet. If something goes wrong you’ll end up ruining the full sheet of glass. A smaller piece is easier to handle and there isn’t so much wastage.
- If you have an odd shape to cut, always cut from the narrowest end to the widest end.
- Do the most difficult cut first. If it is a deep inside curve, you need the mass of glass around it to prevent it from fracturing.
- Take out deep curves in a series of small cuts rather than one big one. This will prevent you from losing the corners or breaking the piece.
- Don’t rush.Cut slow and steady. If you rush you will be more likely to make mistakes – which will take you longer to re-cut and can be costly.
- If you should happen to stop cutting the glass in the middle of a score, just remember to re-line up to where you stopped and not to go over your scored part again. And, remember that you must always finish the score from one edge of the glass to the other. Never abandon a score line, even if it’s wrong. NEVER GO OVER A SCORE THE SECOND TIME. This will ruin your cutter. If you have gone off the line or made a mistake, cut to the other edge of the glass, break it off and start again.
- Another trick is to draw a felt tip pen line along the failed score line, turn your glass over and score on the other side following that line, and hay presto! You can break your glass off from the reverse side using your grozing plier
- Never leave a piece of glass sticking out over the edge of the table. Bad injuries can occur from the glass jutting out or falling on to legs and feet
- Make sure you are cutting the glass on the smoothest side. You will have a bumpy ride on some of the more textured glasses. This can cause the glass score to be inconsistent; it will then not brake off smoothly – if at all
- When you are cutting glass, use a small brush to keep glass chips and splinters cleaned off of the work area. It is best to sweep up the glass chips and splinters after each cut, this will prevent pressure points under the glass that could make it brake in the wrong place. It will also prevent you from being cut by the glass particles
- If you are having trouble cutting a particular shape out of coloured glass, use a piece of window glass for practice and try to figure out what the problem is. Maybe you are not doing the most difficult cut first or maybe you are trying to take out too big of a piece (cut it out little by little); maybe you have an impossible or very difficult cut that needs to be modified; or you might be trying to cut on the wrong side of the glass.
- Keep your body relaxed and in a position where you can manoeuvre your arm and hand when you are cutting glass. Always stand directly in front of the glass, and Make sure you can see the wheel and the line you are cutting along. Make sure you are comfortable. Your table height should be somewhere between your hips and your waist. Work at a height that doesn’t make your shoulders tired
- Cutting the glass on a few sheets of newspaper will give you a soft padded surface to cut on. Using your pattern or a sheet of white paper on top of the news paper will help you to see all more clearly.
- Stand back and review your progress now and then to make sure that all is going to plan.
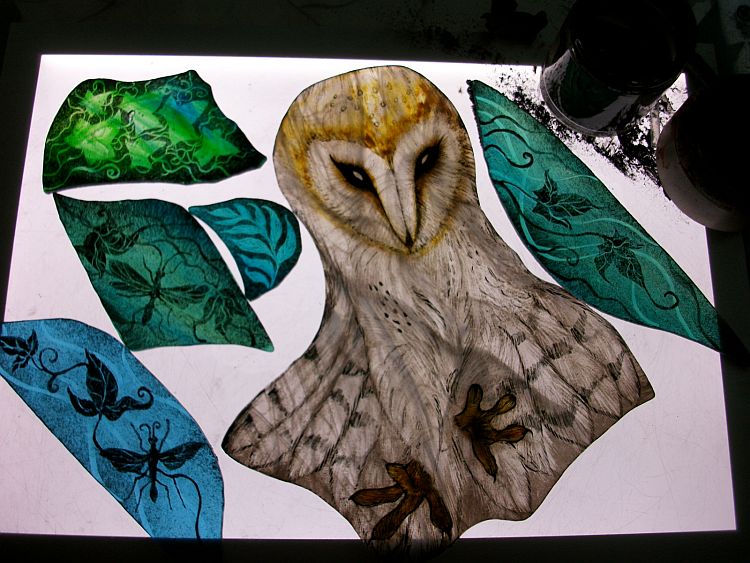
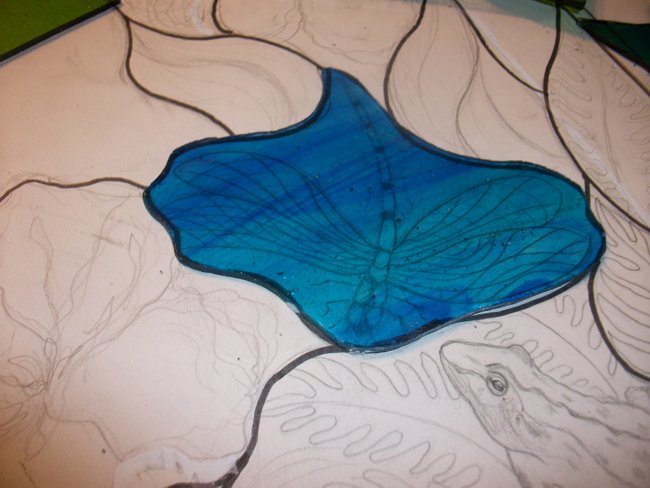
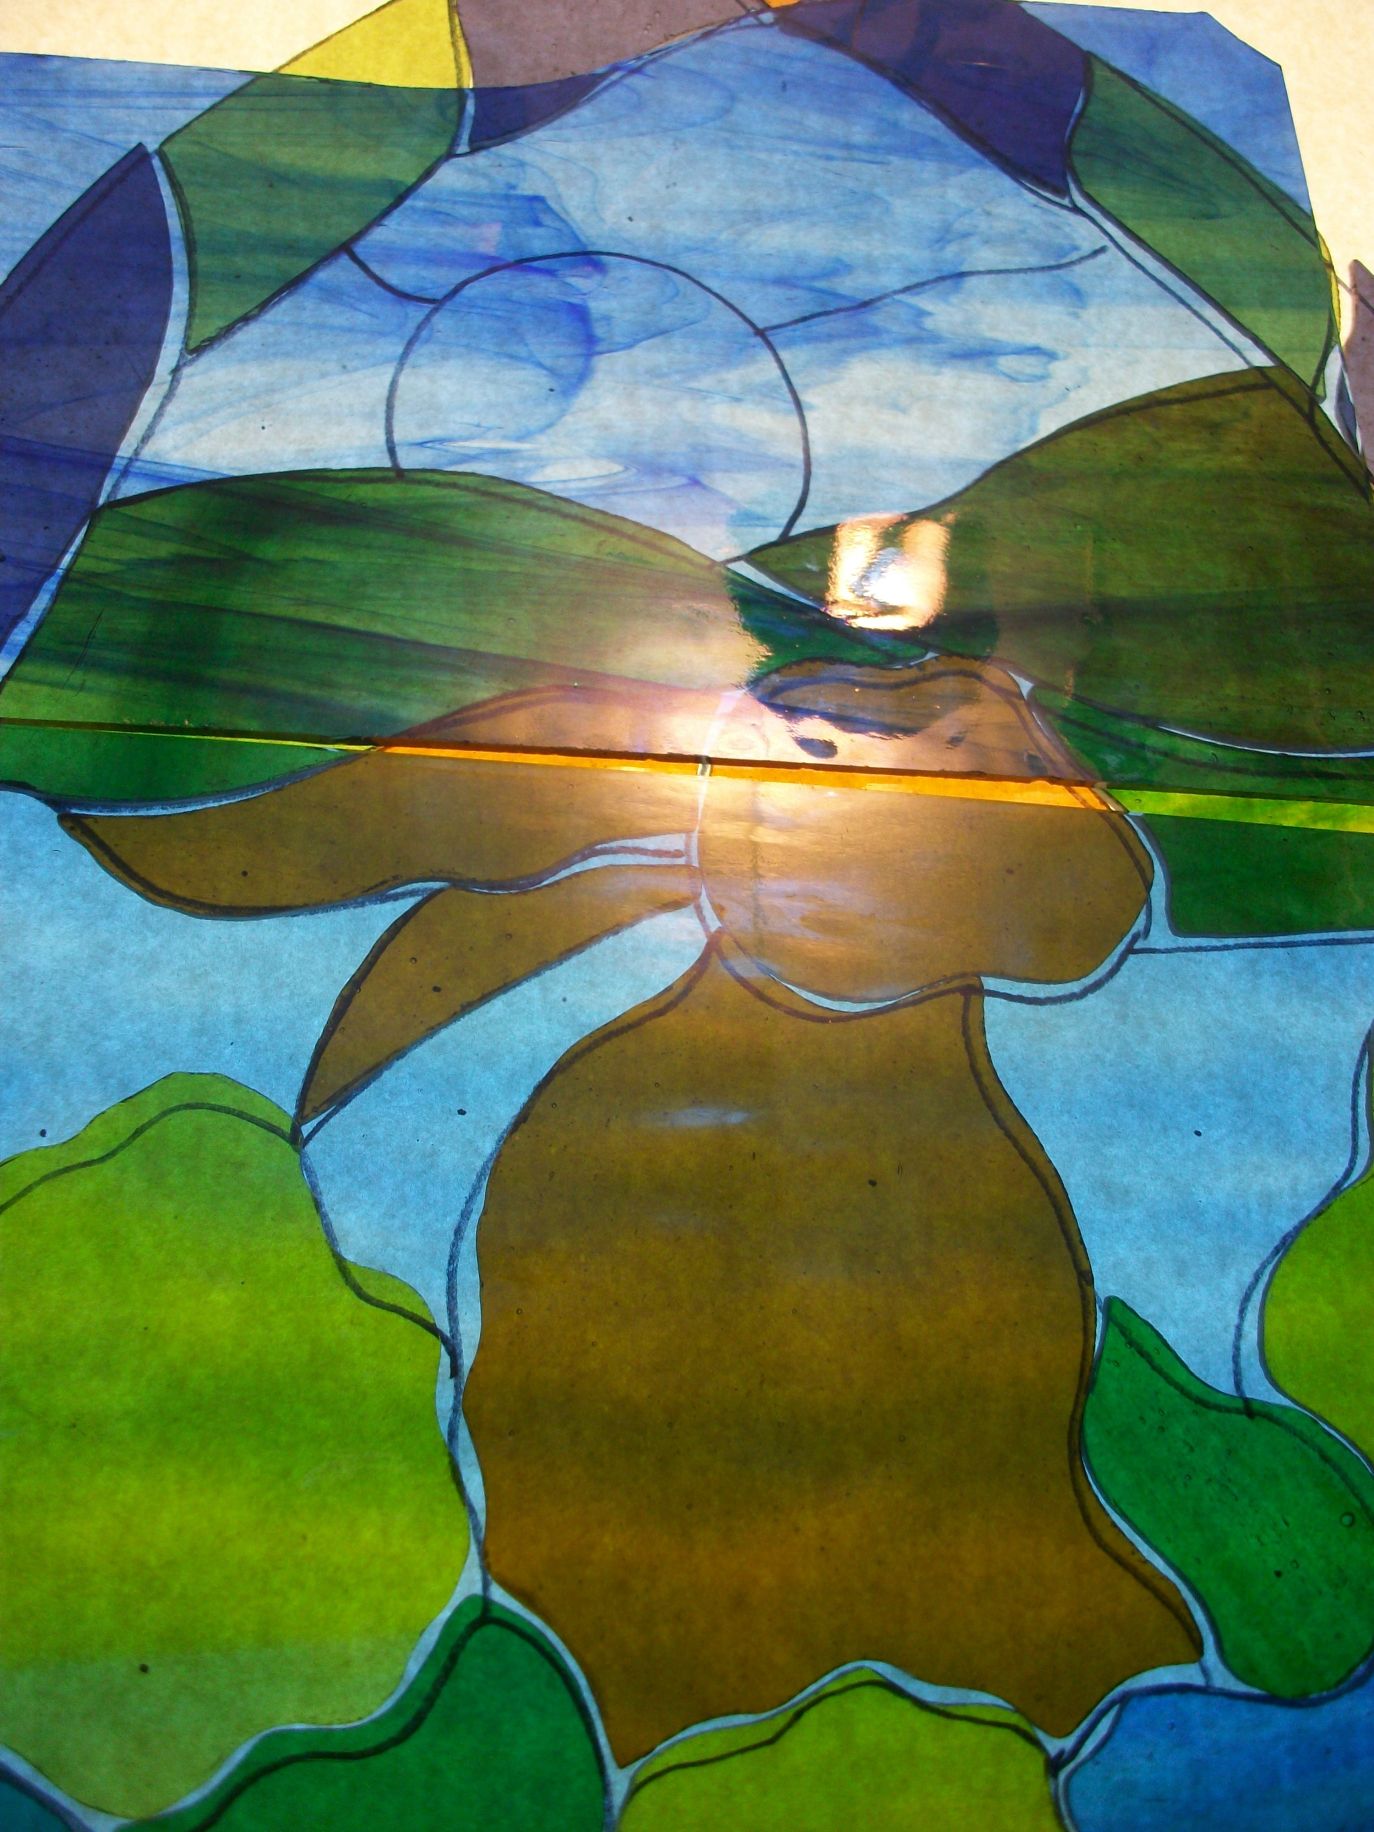
- If you are lucky enough to have a large light box, place your cut sections on there to check the tones and hues of the glass as you work. If not you can use small plasticine blobs to stick them to a clear glass or an acrylic sheet to view with the daylight behind them
- Keep an indelible felt tip pen handy for marking where you might need to modify the glass to perfect its fit. Sharpie pens are the best. White Chinagraph pencils are good on darker glass in order to show up. Both will rub off with a drop mentholated spirits.
- Only tap the back of the glass on longer cuts; there is no need to tap smaller sections. Woody Wood Peckers are annoying! Tapping with a stiff slow motion will not be very effective – if at all. The wrist needs to be lose and flexible – more of a Zonk than a tap! The glass will change tune as the metal cap of the oil reservoir hits it; you will come to recognise the sound that indicates that the glass is about to brake. You will soon overcome any nervousness and begin to love the sound of braking glass!
- You will need to adapt your cut line pattern to approximately 2mm for leaded work and 1mm for copper foiling. Lead has a 2mm central channel and copper foil is much thinner and fine. If your cuts are not accurate; i.e. too wide or too narrow your work will be out of sync and difficult to construct.
- Don’t for get to protect your eyes with either glasses or safety glasses/goggles, your eyes are very precious. A tiny splinter of glass in your thumb can hurt like crazy; you don’t want to know how it would feel in your eye!
- Relax, take your time and, most importantly, have fun and enjoy the creative process.
These are some related links which you may find useful or interesting:
Light Boxes to Inspire Stained Glass Creativity
Light-boxes to inspire creativity:
Chinagragh pencils:
http://www.tigerpens.co.uk/stabilo-all-pencils/p1
Glass manufacture and additional costs:
http://www.tbo.com/brandon/stained-glass-is-about-to-get-a-lot-more-expensive-for-churches-20160610